Move a WordPress site
v0.0.3
This guide starts a migration run that moves a WordPress site into your Mishka CMS site. You choose a source, answer the four steps of the New import window and let the dry run read the site. You finish with a run in the list that says Dry run ready. Nothing has been written to your site yet.
What it moves and how it works, on one page: Mishka CMS Migration.
Before you begin
- The migration extension is set up and your account holds
admin:dashboard:migration. See Install the migration extension. - For the WordPress source: the site's address, a WordPress administrator, and an application password for that user. WordPress makes one under Users, Profile, Application Passwords.
- For the WordPress export file source: the
.xmlfile that WordPress makes under Tools, Export, with All content chosen. The window takes one file of up to 100 MB. - Before you import, choose the site's Language in addresses in Settings if the source is a Polylang or WPML site. See Set a site's languages and language URLs.
Pick the source
Open Migration under Plugins. The Sources cards show what you can start from. Press New import on WordPress to read a live site over its REST API, or on WordPress export file to read a file. The REST source reads only what its user may see. The export file carries every translation and the drafts, private posts and comments of the site, so use it for a site with translations.
Step 1: Where from
A master first picks the Site the content moves to. A site admin has no such field, because the run belongs to their own site. Then fill in the connection.
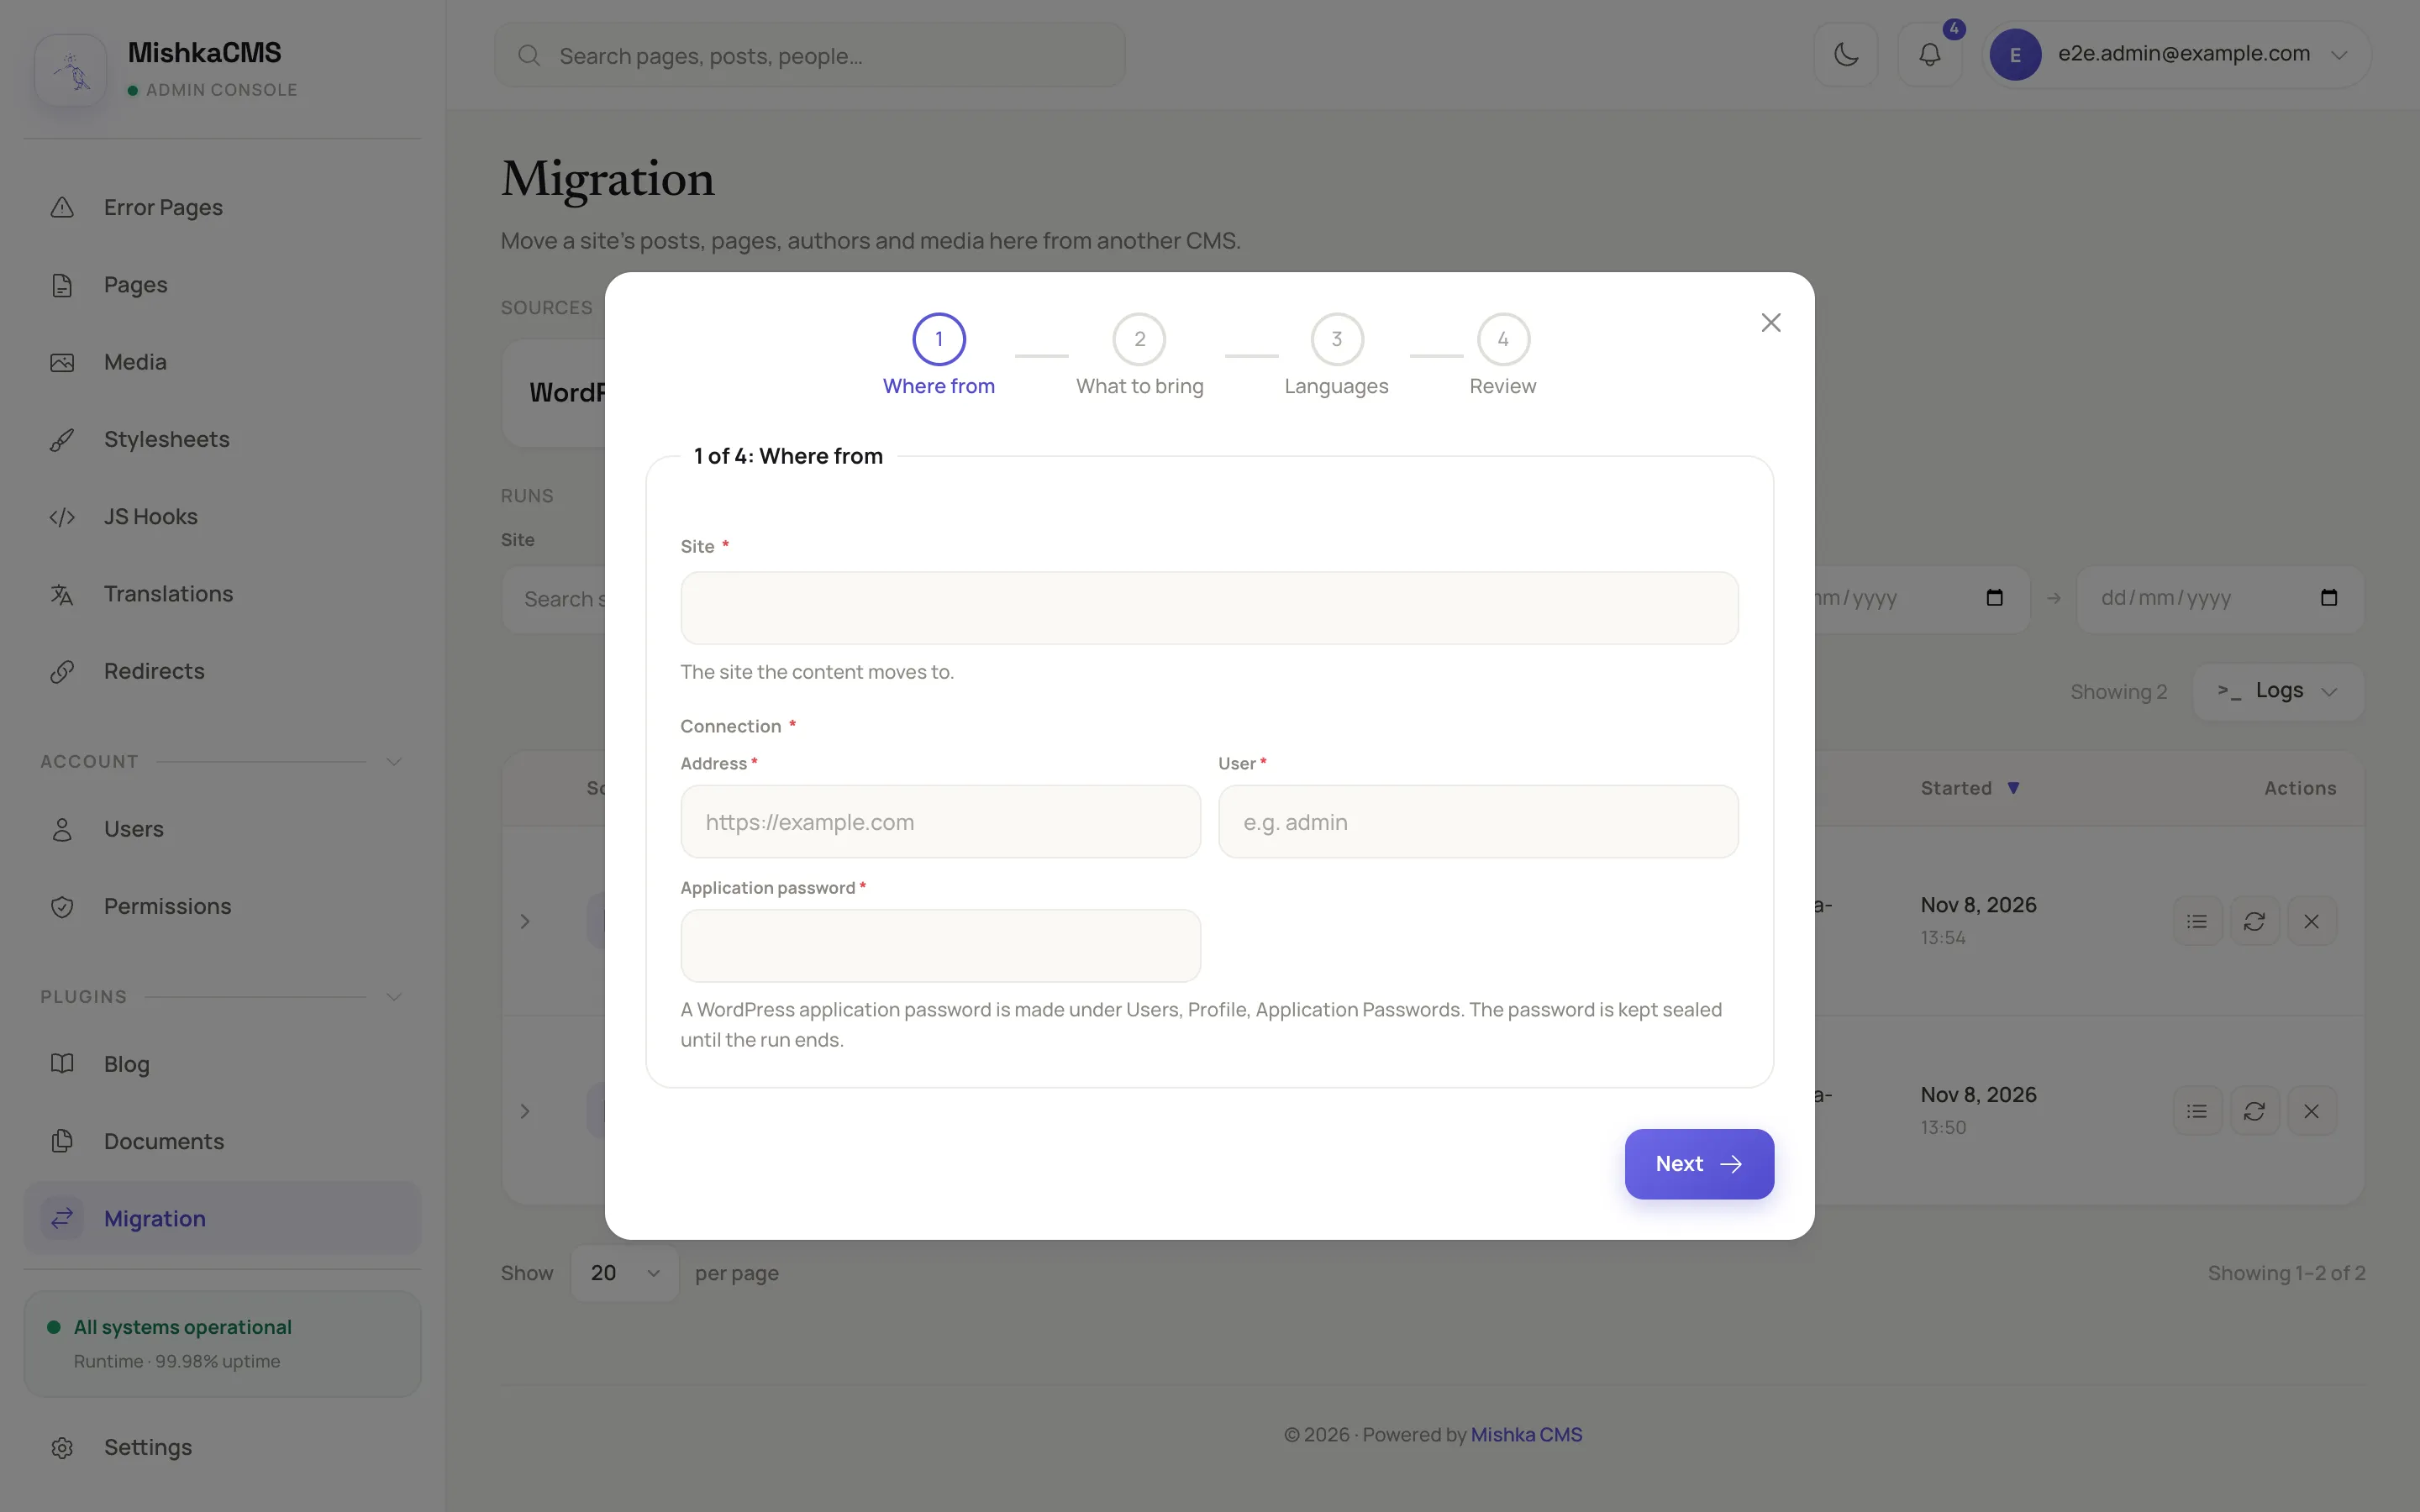
The first step of a REST import asks for the address, the user and the application password.
- Address: the site's address, such as
https://example.com. - User: the WordPress user the application password belongs to.
- Application password: the password WordPress made. The field is masked. The run keeps it sealed until you cancel the run, so a finished run can run again.
For the export file, the step shows an Export file drop zone instead. Click it or drop the file in.
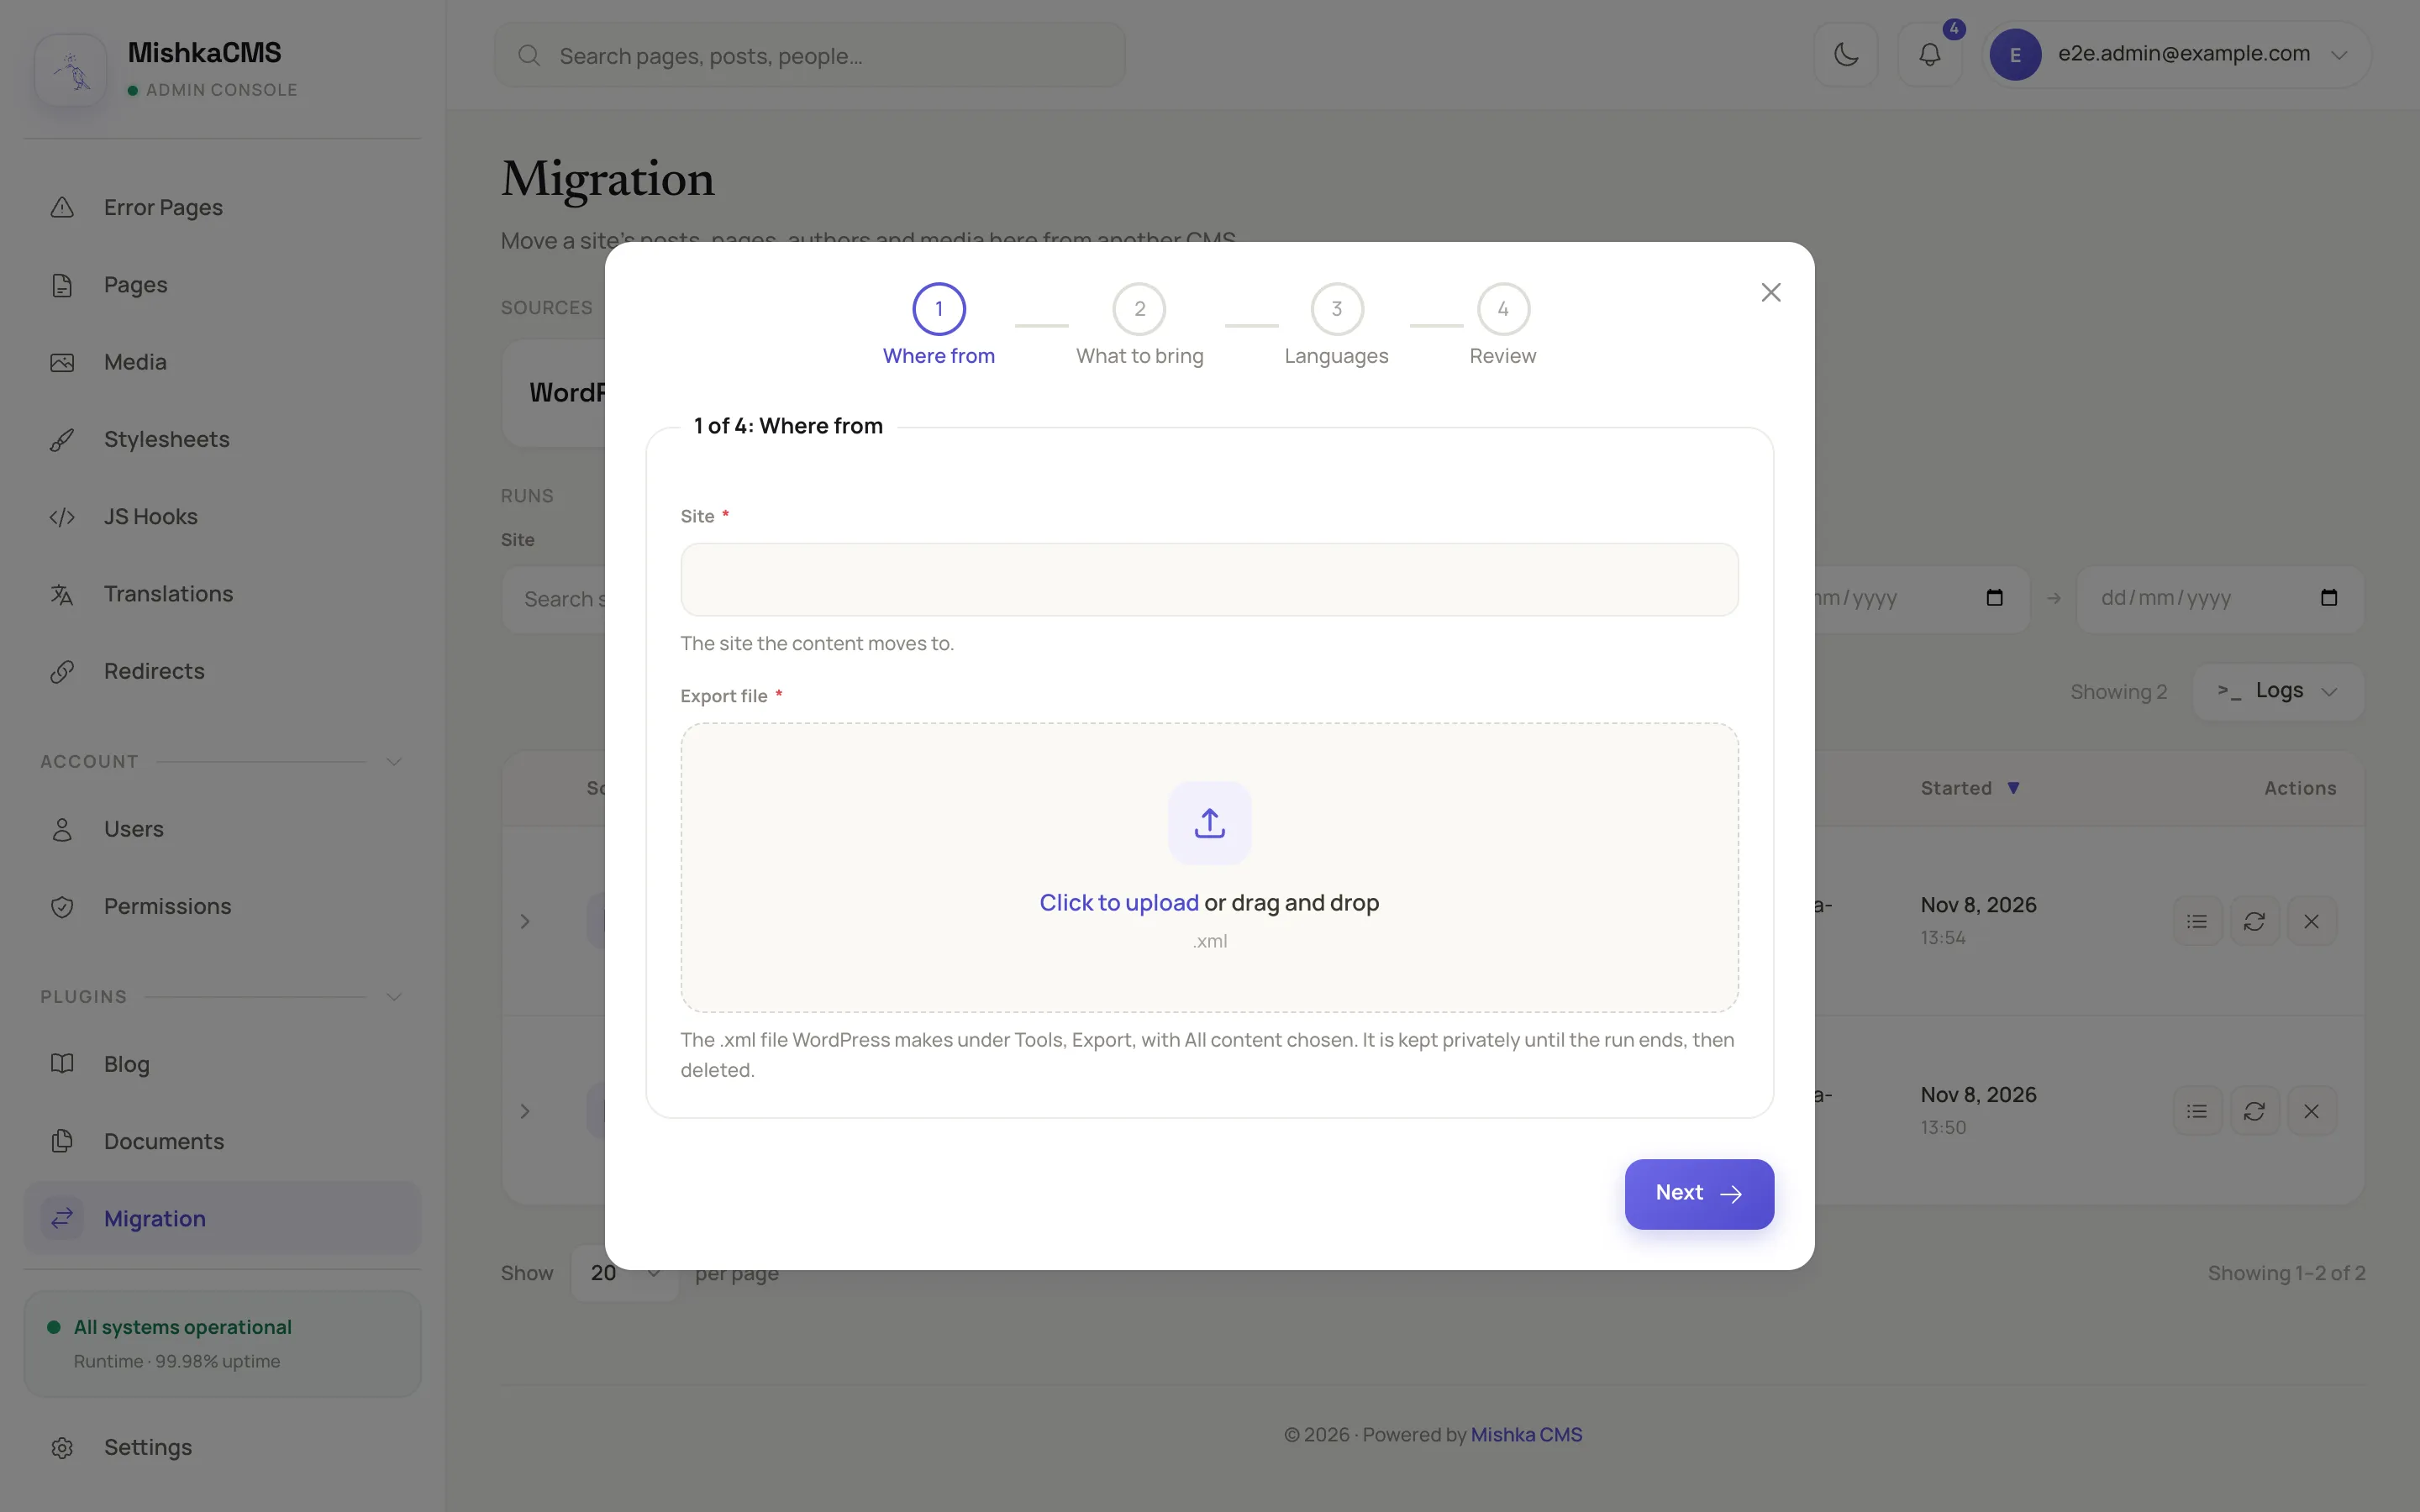
The export file source asks for the file in place of a connection.
Press Next. For a REST import, the window tries the connection before it moves on, and a blank field or a refusal keeps you on this step with the reason. For the export file, Next asks for a file, and the file is read when the run starts. See Statuses, results and messages for the words.
Step 2: What to bring
Each switch is on except Comments.
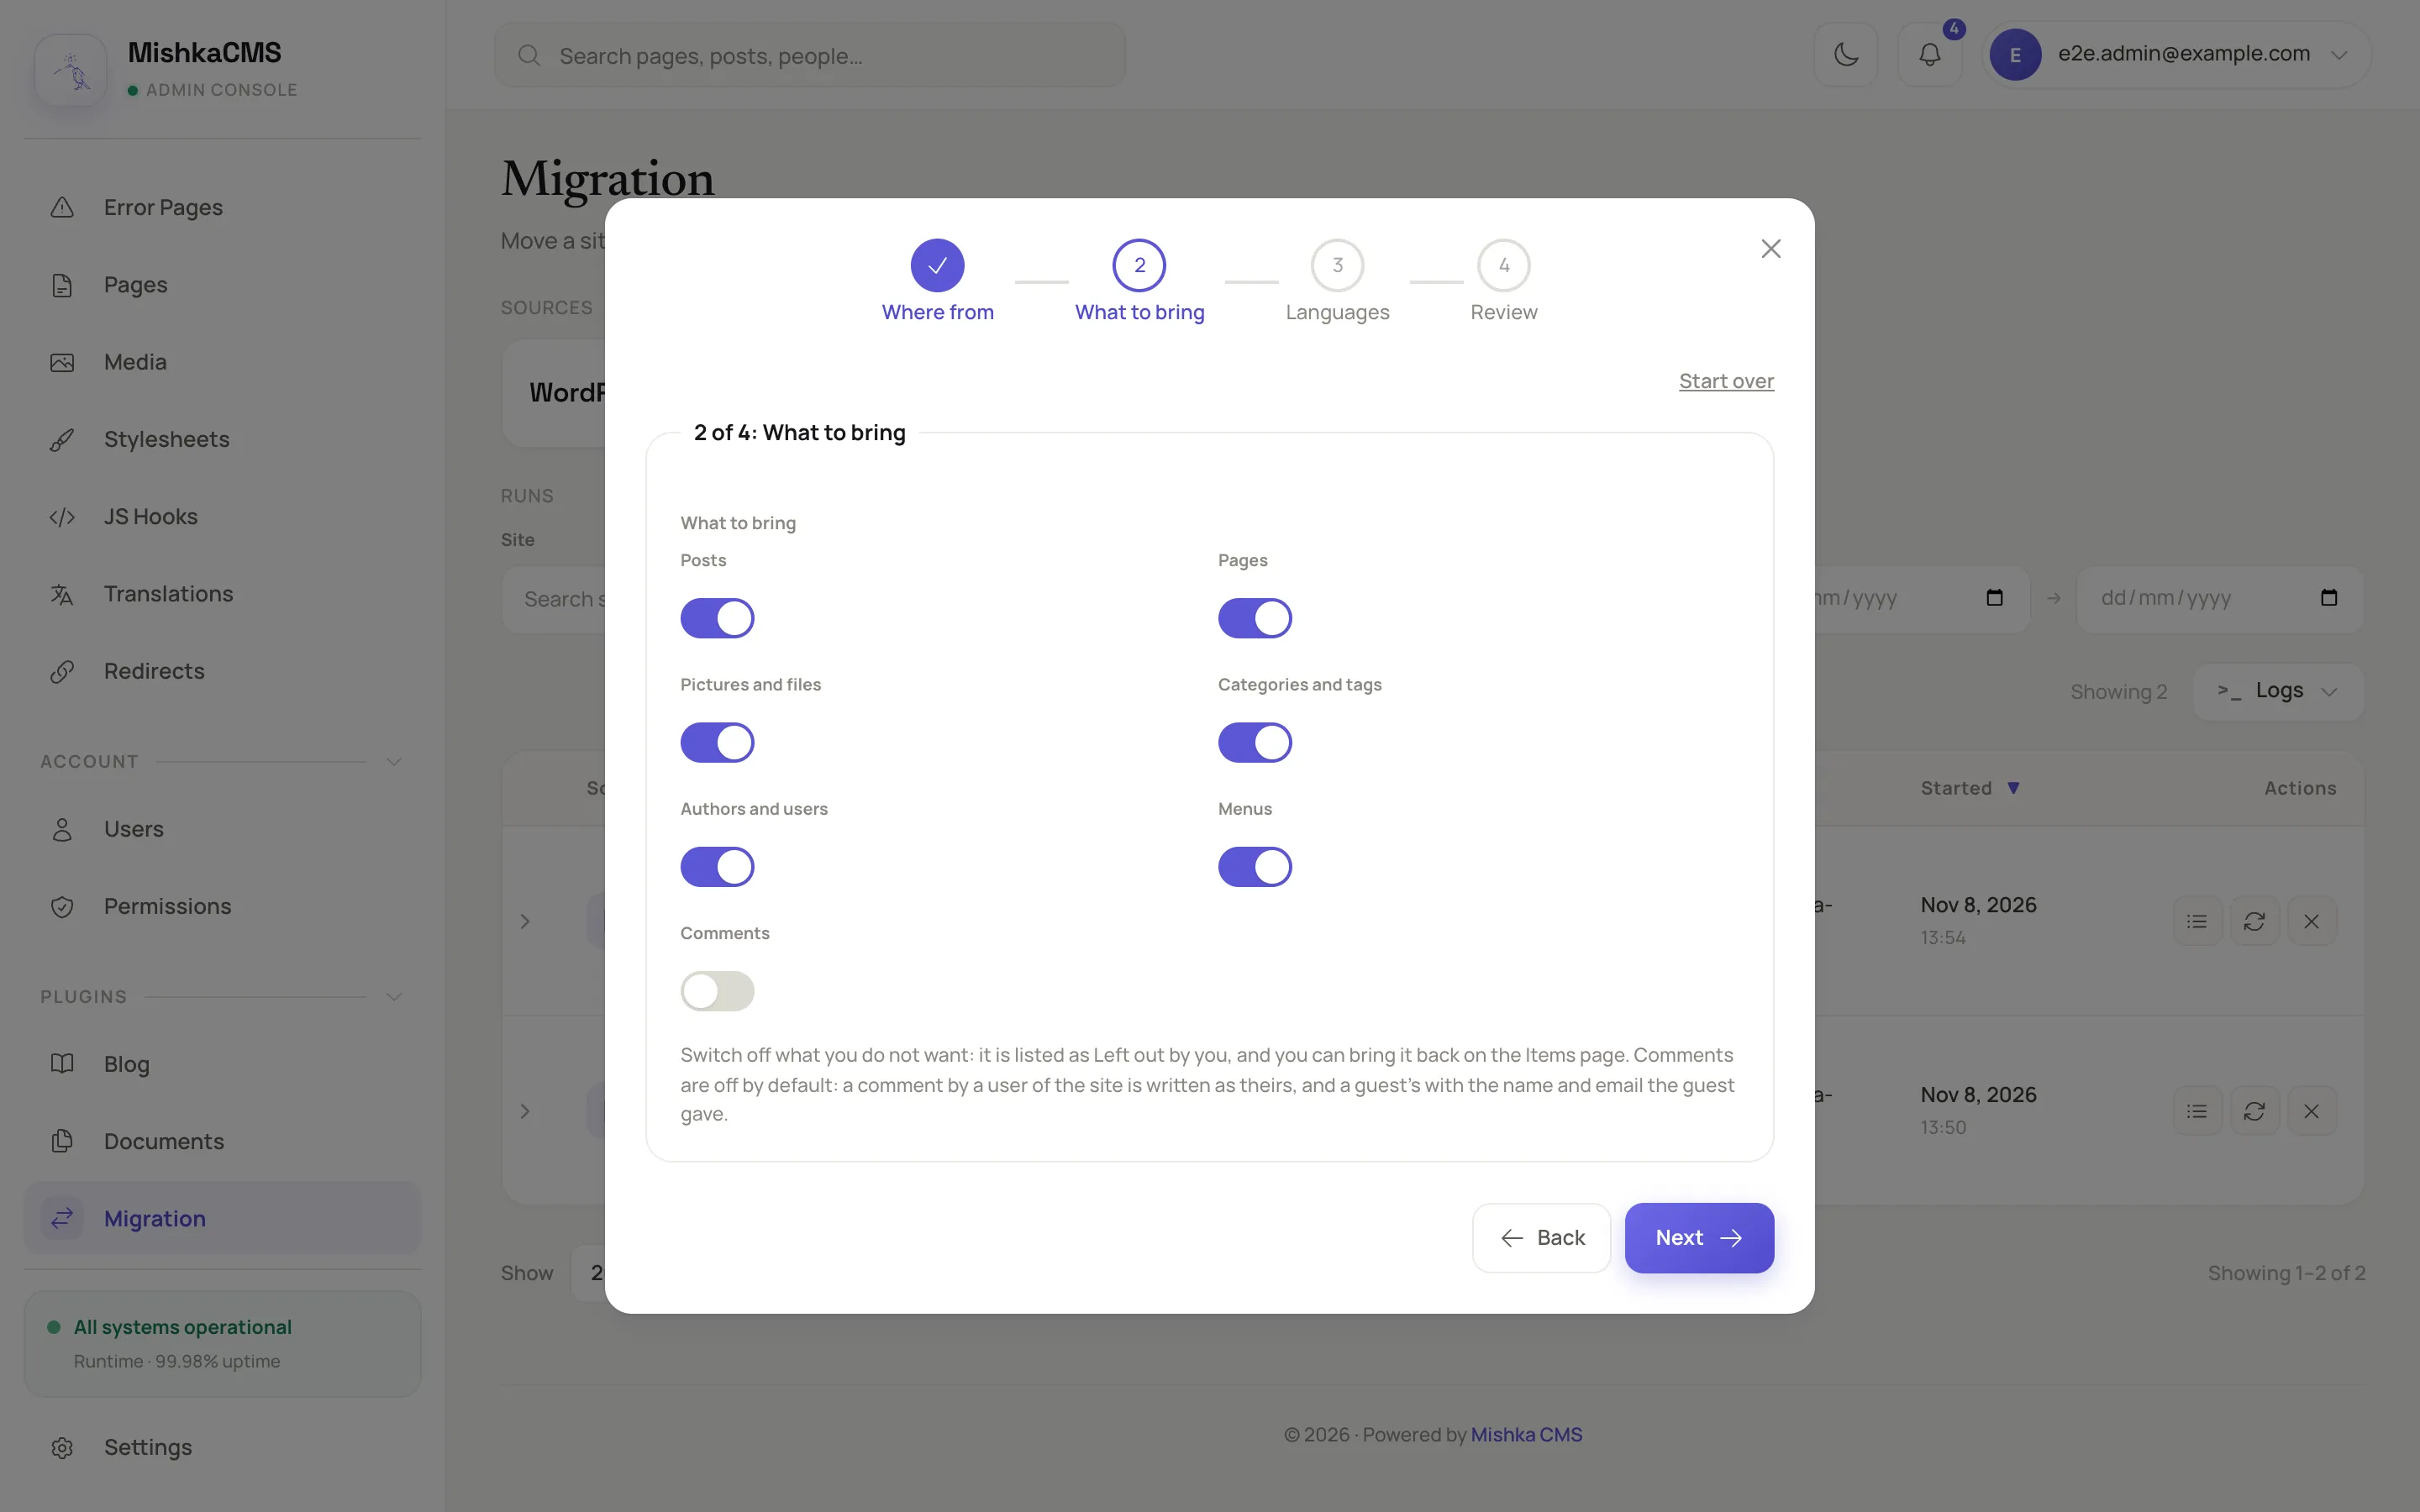
Switch off what you do not want to move.
- Posts, Pages, Pictures and files, Categories and tags, Authors and users, Menus and Comments.
Something you switch off is listed as Left out by you. You can bring it back on the Items page later. The Blog's switches appear only while Mishka Blog is installed.
Step 3: Languages
Leave Import everything in one language empty to keep the source's languages. Pick a language to put everything the source gives without one of your site's languages into it. The list is the languages under Settings, Languages. A language that is missing there answers 404, so add it first.
Step 4: Review
The review says in words what the run will do: where it reads from, what it brings and what it leaves out, the languages, and any choice that differs from its default. Advanced options is a collapsed group with the choices of the run. See Run options. Start over empties the window and returns to the first step.
Press Start the dry run. The run connects to the source first, then saves and starts its dry run. A message says Connected to the site's name, The dry run started: it writes nothing to your site.
Check the run
The new run is in the Runs table. Its status moves from Dry run running to Dry run ready, and its Result column fills with counts. The table follows the run live, so you need no reload. You also get a notification in the topbar bell when the dry run ends.
Next steps
- Read a dry run: check what it found.
- Settle what needs your decision.
- How a migration works: why a dry run writes nothing.