Add categories, tags, bloggers and teams
v0.0.1
Posts are sorted and credited through four other records. Collections are the blog's categories, tags label posts across categories, bloggers are the author profiles a post credits, and teams group bloggers. Each has its own screen and the same pattern: open the screen, click the add button, fill in the form and save. This guide adds one of each and attaches them to a post.
Before you begin
- Set the blog up on your site.
- Sign in with an account that holds
admin:dashboard:blog:post. All four screens ask for it. - For a blogger, have the user account ready. A blogger profile belongs to one account, and an account has one profile per site.
Add a collection
Readers see a collection as a category. Open the blog dashboard, click the Collections card, and click Add Collection.
- Enter a Name. The Slug follows it until you type your own.
- Set Status to Active. A collection starts as Draft, and only active collections are public.
- To nest it, choose a Parent Collection. The default is No Parent (Top Level).
- Set Display Order. Lists of categories sort by this number, lowest first, then by name.
- Optionally add a Description, turn on Featured, and fill in SEO Tags, Schema (JSON) and Permissions.
- Click Create.
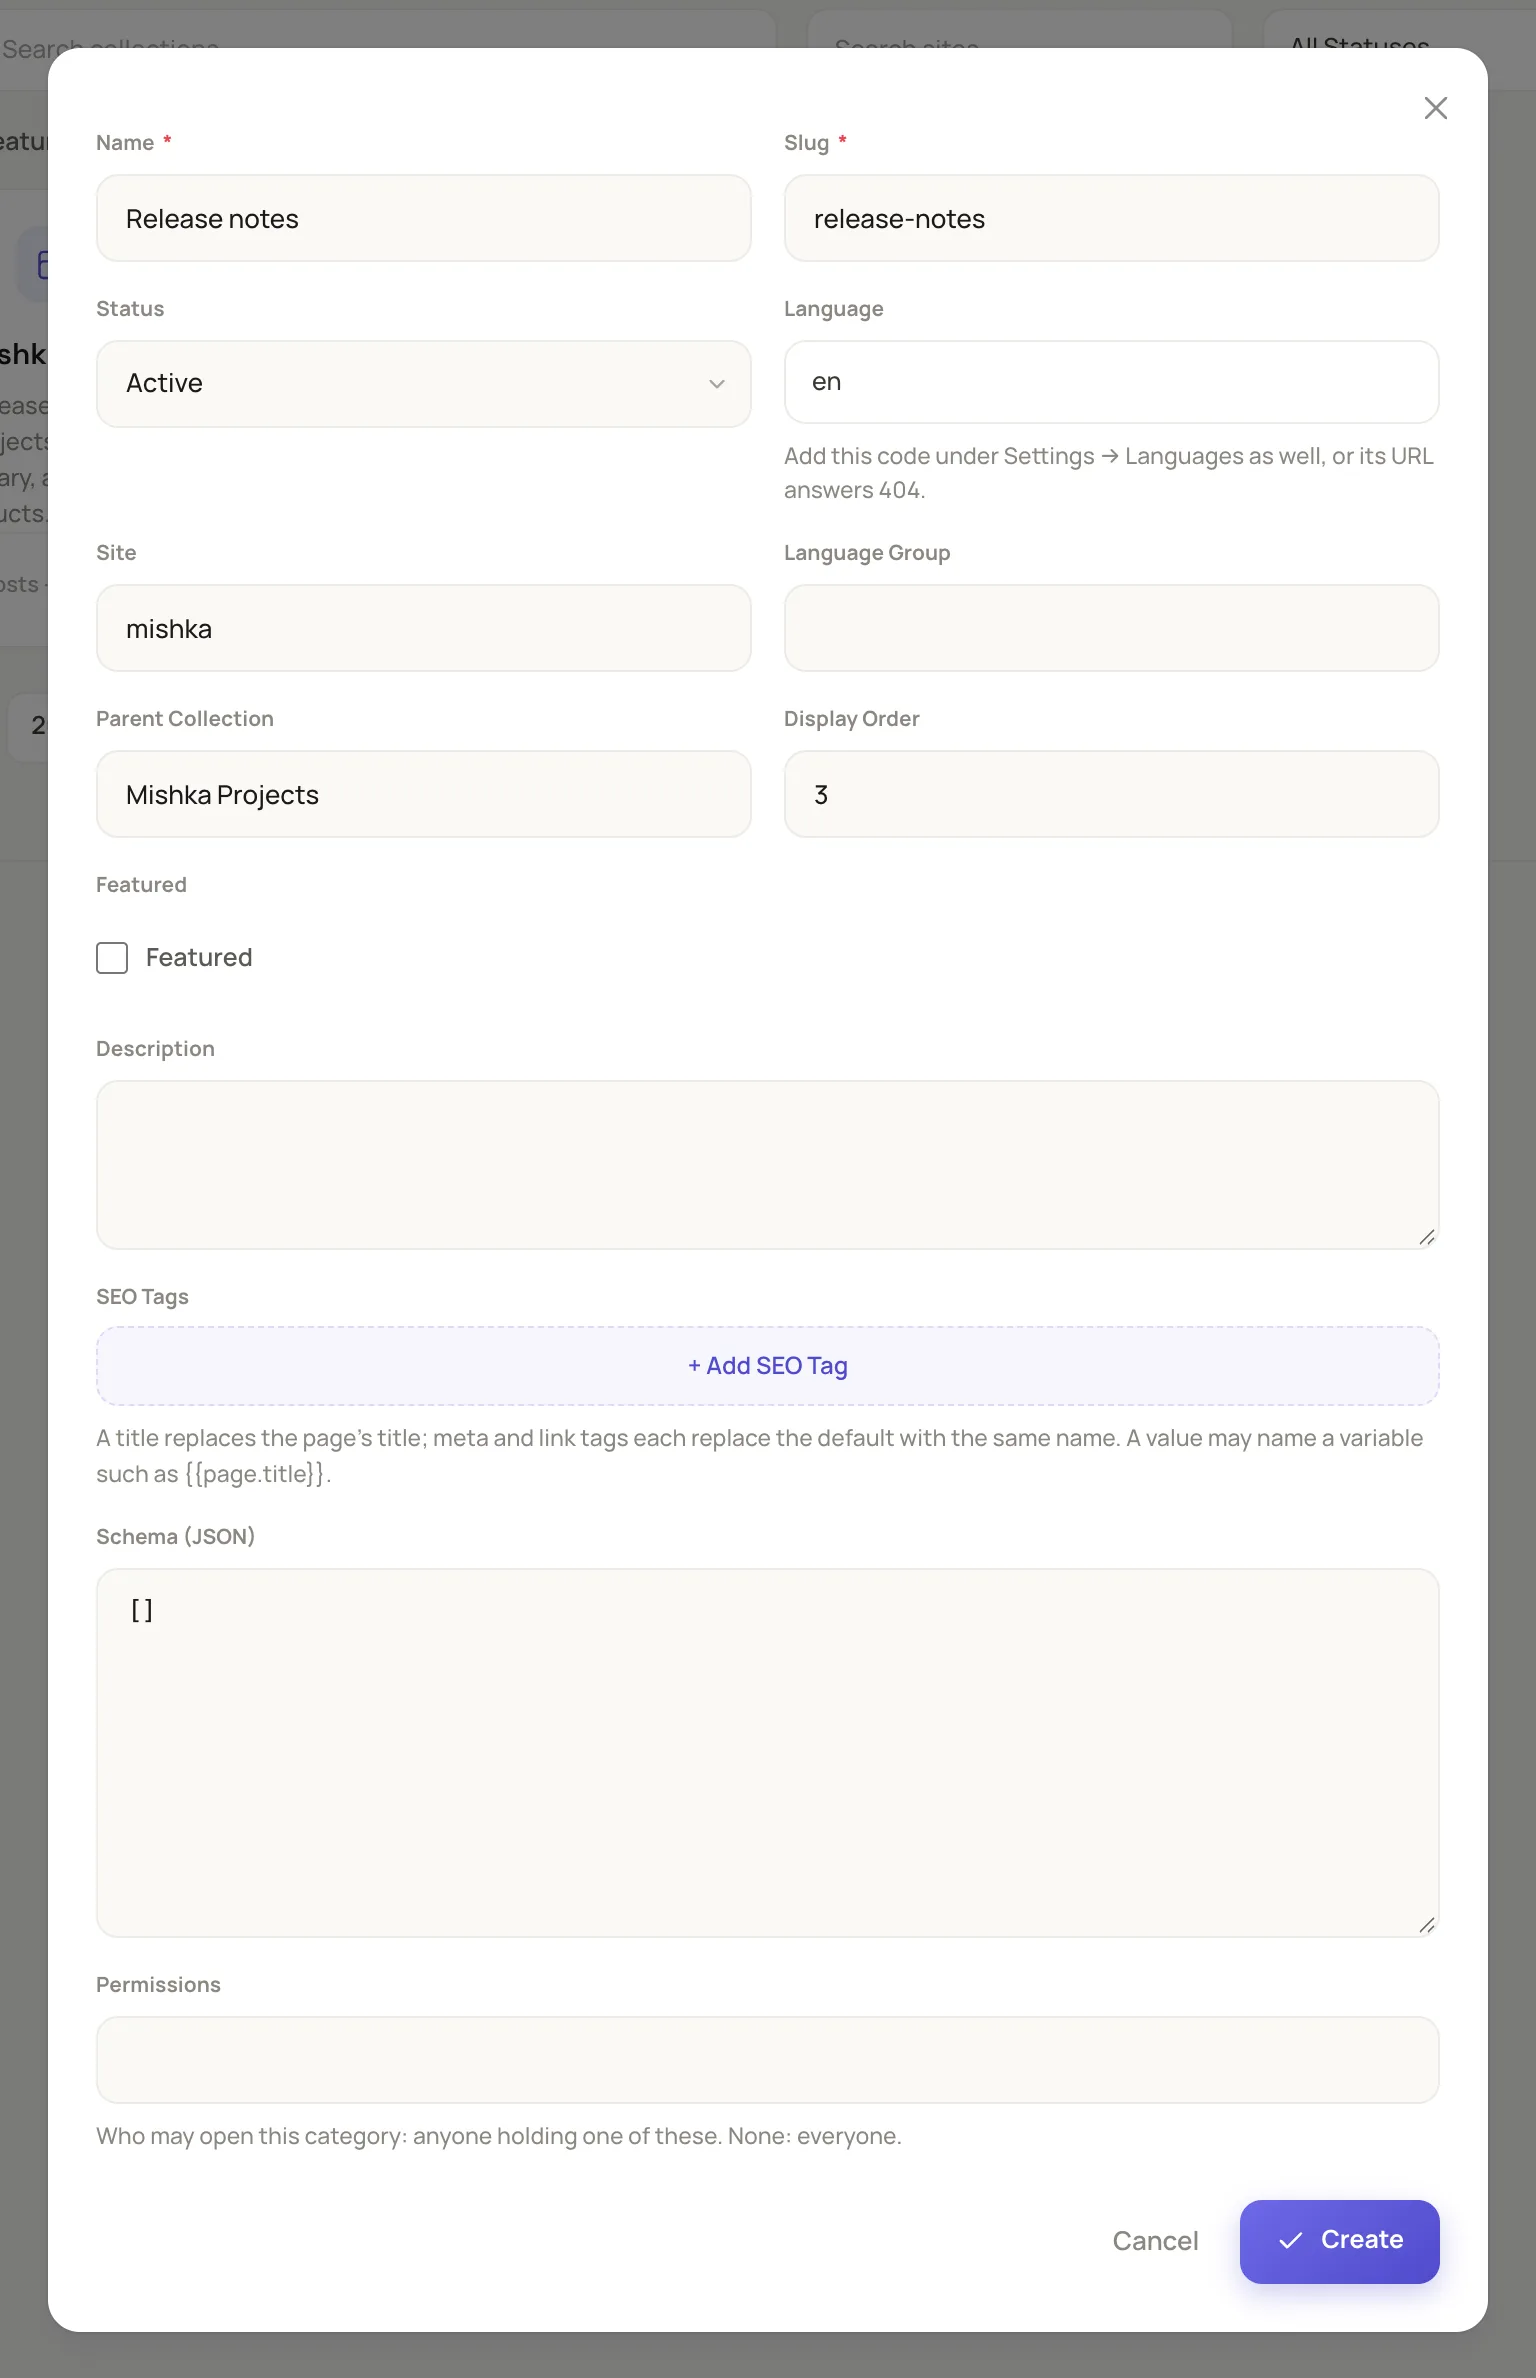
A collection's parent is chosen from the collections of the same site.
A collection cannot be its own parent. A card shows how many posts and versions a collection has, and its name opens the Posts page filtered to that collection.
Add a tag
Click the Tags card, then Add Tag.
- Enter a Name and check the Slug.
- Check the Language. A tag has no status: it is public while it is not archived.
- Optionally choose a Parent Tag, add a Description, and fill in SEO Tags and Permissions.
- Click Create.
Add a blogger
Click the Bloggers card, then Add Blogger.
- Under User, search for the account by email. A site admin sees the site's users. A master sees the chosen site's users and every master, each master marked (master).
- Enter a Display Name. The Slug follows it. The slug is the blogger's address on the author page.
- Optionally add a Contact Email, a Bio, an Avatar and a Cover Image. The pictures come from the media library.
- Under Expertise Areas, list topics. Under Social Links, click + Add Link and enter a Platform, such as
github, and a URL. - Under Teams, choose the teams the blogger belongs to.
- Click Create.
The form refuses a second profile for the same account with User already has a blogger profile in this site. Can Publish Directly marks a publisher, and the card shows Publisher or Contributor. The blog stores the flag and counts publishers on the dashboard, but it does not check the flag when a post is published.
Add a team
Click the Teams card, then Add Team.
- Enter a Name and check the Slug.
- Set Status. A team starts as Draft. Only Active teams are public.
- Optionally add a Description, an Avatar and a Cover Image.
- Click Create.
The team form has no member list. Add members from each blogger's Teams field, or over the API with member_ids.
Attach them to a post
Open the post form, as in Write and publish a post. Choose collections under Collections, tags under Tags and authors under Bloggers / Authors. A post can have several of each. The lists offer only records of the post's own site.
Archive and restore
Every card has Edit, Versions and Delete. Delete archives the record after you confirm, and the Archived toggle shows archived records with Restore and Delete forever. An archived collection, tag or blogger leaves the public pages. Collections, tags and teams can also be archived in bulk. Bloggers have no bulk actions.
Next steps
- Write and publish a post.
- Blog record fields: every field, limit and default.
- How blog locks work: how a collection's Permissions reach its posts.